
Apply fly interfacing (piece R) to the wrong side of the bottom of the left front fly (piece O).

NOTE: We accidentally fused the interfacing to the right side of the fabric while making this undershirt for the tutorial - whoops. It ultimately doesn't matter very much, as the bottom fly will be turned under and Velcro (or other hook-and-loop tape) will be sewn over it, but it does work better overall if it's on the wrong side.
Sew the fly binding (piece P) to the front fly along the long straight edge, edges flush and right sides together.

Press the fly binding away from fly.

Turn fly binding under along edge of fly and pin underside of fly binding in place.
"Stitch in the ditch" along fly/fly binding seam line to secure underside of fly binding.


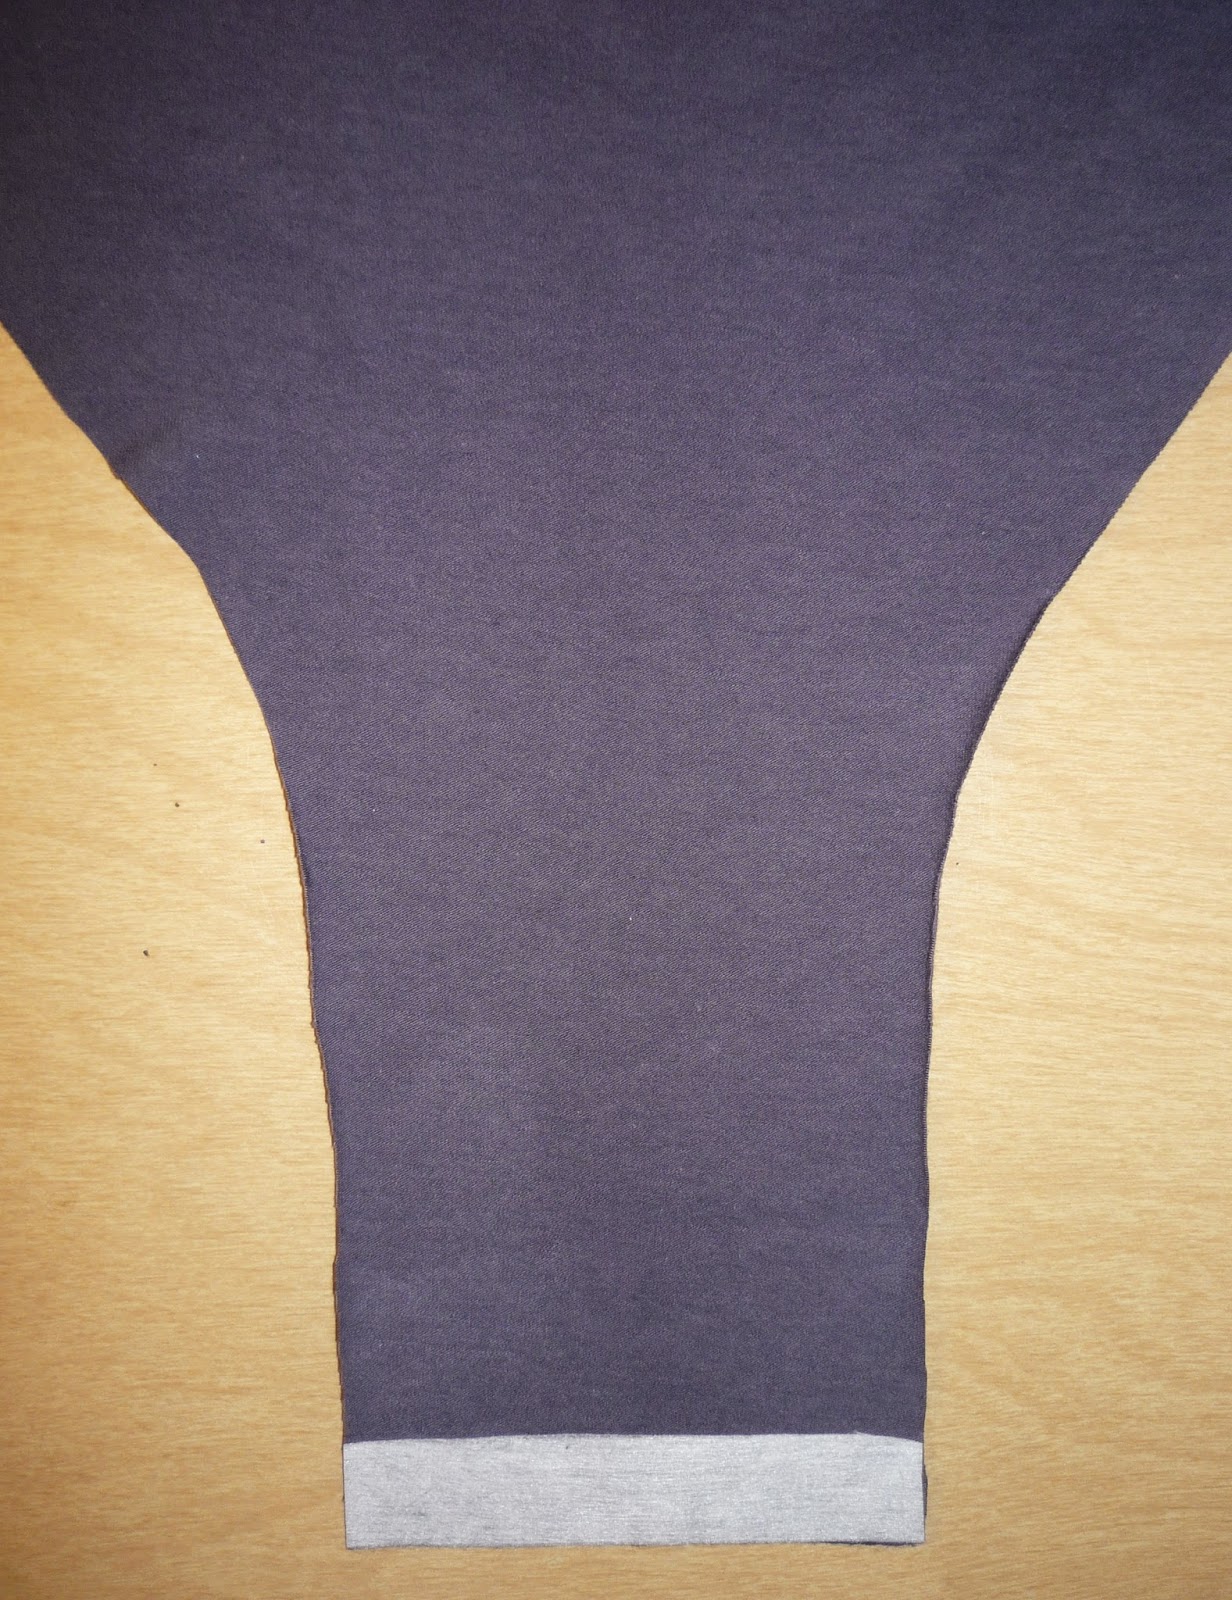
The underside of the fly should look like this:
Remove the excess fly binding by clipping close to the stitch line.
Repeat for the other side (except interfacing).


Overlap the two fly pieces, matching centers, and with both right sides facing outward.

Baste or sew the fly halves together ¼" or so from the top edge where the two halves overlap, matching centers.

Sew the fly assembly onto the undershirt front, matching centers and side edges.

Apply fly onesie interfacing (piece R) to wrong side of thin edge of onesie back (piece L).
Sew back onesie to back of undershirt assembly, right sides together, matching centers and side edges.
PREVIOUS: Tutorial, part 5 - Back Closure
NEXT: Tutorial, part 8 - Sleeves
PREVIOUS: Tutorial, part 5 - Back Closure
NEXT: Tutorial, part 8 - Sleeves
No comments:
Post a Comment