Showing posts with label Star Trek. Show all posts

April 23, 2015

Tips for Achieving an Ideal Fit

The sizes available on the printed pattern should accommodate most body builds, but some customizing may be needed in order to achieve an ideal fit. 


Perhaps most likely to need adjustment is the collar, as it may be slightly too tight or too loose for comfort around the wearer's neck. It should be snug-ish but not uncomfortably tight. 

Our pattern's collars are graded in increments of 1", starting with 14 ½" for the size small.

The collar and collar facing pieces themselves are rectangles, and to adjust the size of the collar, one needs only to adjust the width of the rectangles (the long way). 

Remember that by whatever increment you adjust the size, the end result will be double (since the pieces are placed on the fold)! In other words, if you widen the pattern piece by ¼", the result will be a collar that is ½" looser.

Should you require LOOSENING of the collar, we recommend widening the pattern pieces as described above by whatever increment is necessary for an ideal fit (and this may take a few tries to get just right). Then simply ease in the longer collar while sewing it; you may also stretch the body's neckline if necessary to accommodate the longer collar. 

Should you require TIGHTENING of the collar, we recommend first tapering the collar at the center back - that is, instead of leaving a straight vertical edge on each side of the center back, cutting it at a slight angle, widening from the bottom to top of the collar. This will help the collar better conform to and hug the wearer's neck.


Another option is to take advantage of the 1" seam allowance in the back by taking it in or letting it out as needed (within reason).

A good method for determining exactly where to place the seam line for ideal comfort is to baste or sew the entire undershirt together except for the center back, then stretch it to comfort and pin the back halves together along the center back, using the pin placements for reference. 


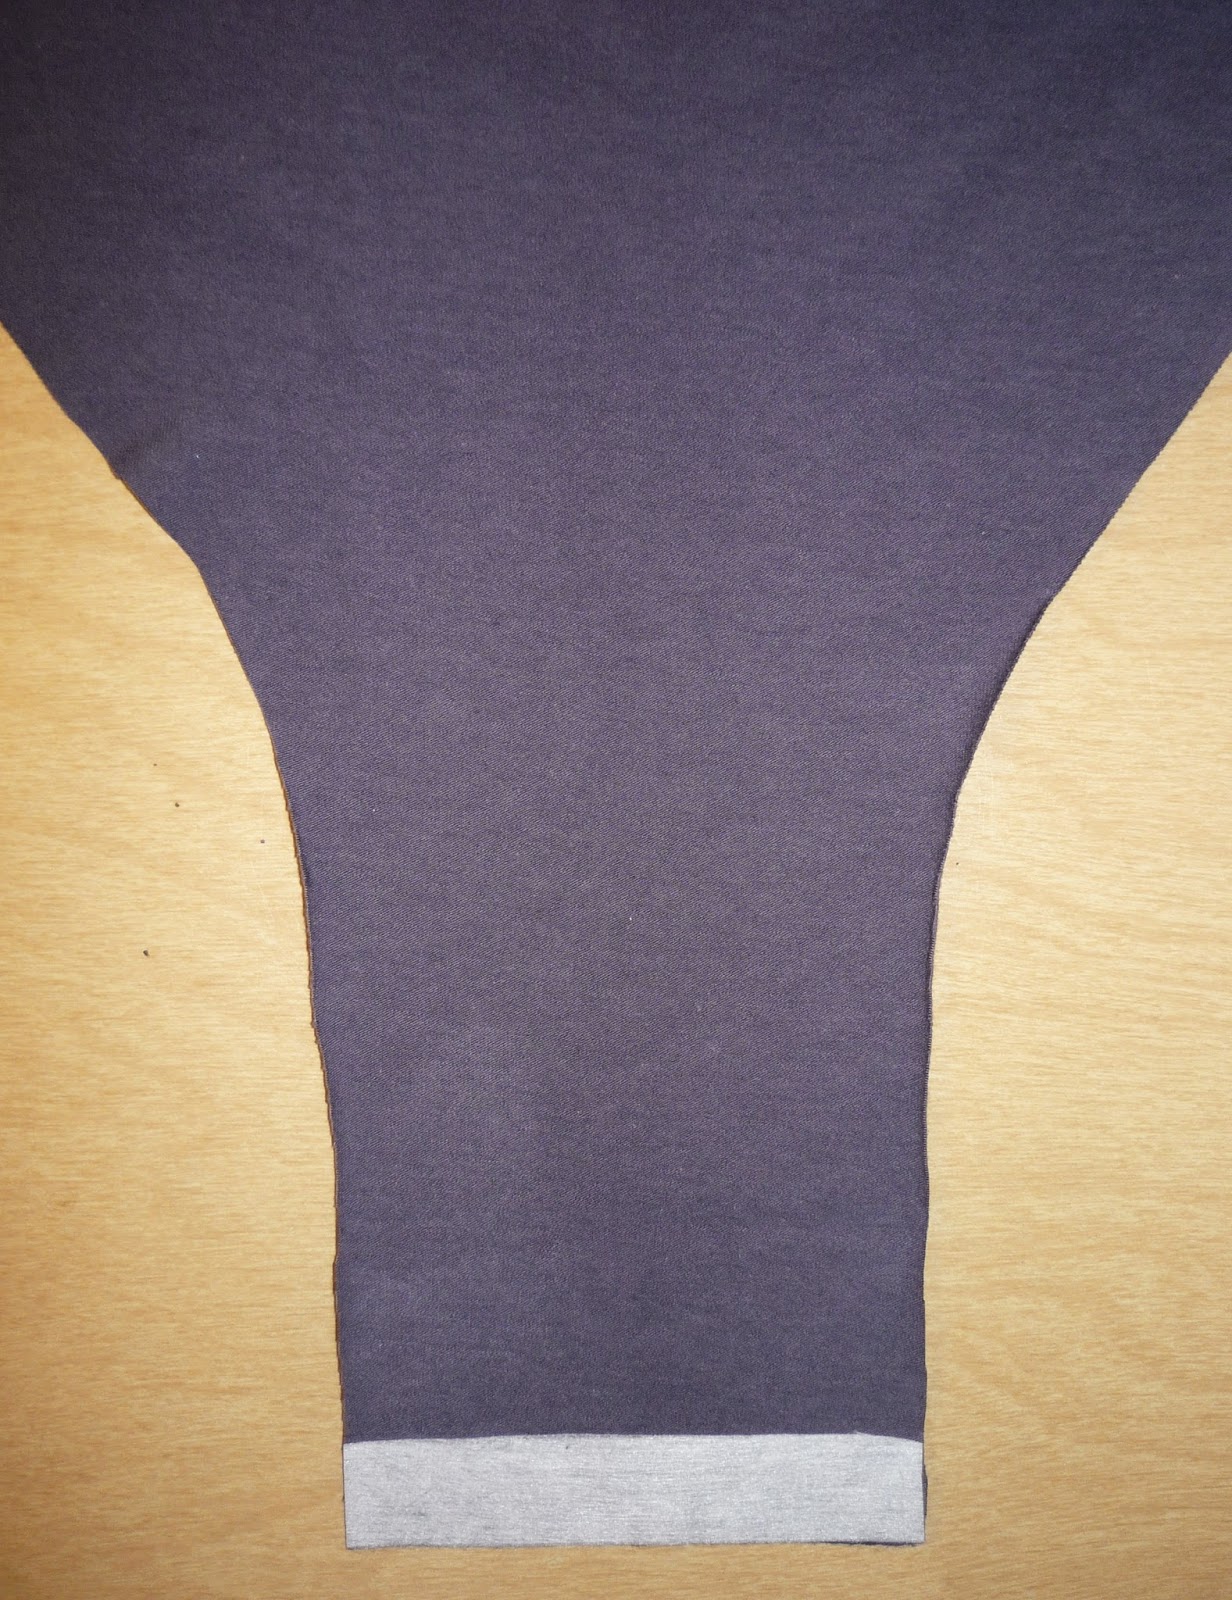
If you've chosen to construct the undershirt with sleeves, then you may wish to lengthen or shorten them.

If your sleeves need lengthening or shortening, first determine if the sleeve cuff is comfortable and/or has the desired amount of tautness around your wrists. 

If not, the sleeve cuff is easily adjustable in the same manner as the collar (that is, narrowing or widening the rectangle by the desired amount). 


Once the bottom of the sleeve is adjusted (if need be), redraft the sleeve edges from the underarm (the widest point of the sleeve pattern piece) to the bottom of the sleeve.

If you widened or narrowed of the bottom of the sleeve, do the same for the hem allowance (the bottom 1" of the pattern piece).


The only other area that might need adjustment is the chest. 

The garment itself is made of stretchy knit fabric and should fit comfortably if worn at an appropriate size, but should it be too tight or loose, there are several simple options to achieve an ideal fit. 

First, as mentioned previously, the center back seam allows for some give and take. 

Otherwise, if the garment is too loose, the body's side seams can be taken in (along with the upper portion of the sleeve seam) after it is already made. 

If it is too tight, extend the upper side of the pattern piece (at the underarm) by ¼ of the desired alteration on both the front and back pattern pieces, and widen the sleeve's underarm edges by the same amount (so the seam lines will match). For instance, if you need the garment to be 1" looser, add ¼" to the top of the front side seam (underarm), ¼" to the top of the back side seam (underarm), and ¼" to both sides of the sleeve underarm.


If you constructed the fly onesie and the leg holes are too large (I, for one, have skinny little chicken legs), you may wish to adjust them.

Model: Alex Beard

Rather than attaching the leg binding stably, you might want to stretch the leg binding as you go. 

This will elasticize the leg holes somewhat and they will be more likely to sit snugly around the legs (such as men's briefs might). The more you stretch the leg binding, the more it will contract around your leg (just like sleeve cuffs do around the wrists).


CONGRATULATIONS!

YOU'RE FINISHED!


If you found this tutorial helpful, please support my costume research on Ko-Fi! :)


Tutorial, part 10 - Hem

If the optional fitting darts are desired, sew them where indicated on the printed pattern. 

Press underside of darts toward center. 


NOTE: This entire step is optional; being constructed of a knit fabric, the shirt actually doesn't require hemming for garment longevity, so this is purely aesthetic. As of the writing of this tutorial, we're not sure if the screen-used VOY undershirts were typically hemmed or not, but we think it looks nice! 


Turn the bottom of the shirt under ½", then ½" again. 

From the wrong side, stitch through all layers, close to the edge of the hem.


Tutorial, part 9 - Fly Onesie

Pin the leg binding (piece Q) to the fly assembly along the open leg hole, right sides together and edges flush. 

Remove any excess so that the leg binding is the same length as the leg hole. 

Sew the leg binding to the leg hole. 

Press leg binding away from the fly assembly. 

Repeat for other side.


Turn leg binding under, press, "stitch in the ditch," and remove excess in the same manner as done previously with the fly binding.


Turn interfaced edge of back onesie under ¾" (wrong sides together) and baste or sew the fold securely in place.

Sew a strip of ¾" Velcro (or other hook and loop tape) through all layers between leg binding. 


Turn under bottom edge of left front fly ¾" and baste or sew securely in place. 


Turn OVER bottom edge of right front fly ¾" and baste or sew securely in place. 

Baste or sew the two front fly halves together along the bottom, matching edges and centers and with the folded fabric allowances together. 


Sew a strip of opposite end of ¾" Velcro (or other hook and loop tape) to the outer side of bottom front fly between leg binding, through all layers.


OPTIONAL: To further secure the fly closure, attach three snaps to each end over the Velcro. 


FLY ONESIE is finished!


Tutorial, part 8 - Sleeves

For the version WITH SLEEVES, sew the open sleeve (piece C) to the body assembly, right sides facing, matching edges and sleeve center with shoulder seam. (The sleeve is symmetrical, so either sleeve piece will do; there isn't a specific front or back.) 

Repeat for the other side.


Sew the sleeve and body side seam closed in one continuous stitch, right sides facing, matching edges and sleeve/body seam lines. 

Press seam allowances open. 

Repeat for the other side.


Fold the sleeve cuff (piece K) in half horizontally (the long way), right sides facing, and sew it closed. 


Press seam allowance open. 


Repeat for the other side.


Fold the sleeve cuff in half again, this time vertically (the short way), wrong sides facing, matching seam lines. 


OPTIONAL: Baste or sew the sleeve cuff across the seam allowances to ensure proper alignment with the sleeve. 


Stretch the sleeve cuff around the bottom of the sleeve and pin in place, open edges flush and matching seam lines. (Pinning excessively is unnecessary; quarterly or so should do nicely, perhaps with a couple more at the seam line.) 

Sew the sleeve cuff to the sleeve, right sides together. 


Fold the sleeve cuff downward. 

Repeat for the other side.


STANDARD ONESIE is finished! 

For FLY ONESIE, continue to next step.

For HEM VERSION, skip to step 10. 

Tutorial, part 7 - Fly Onesie

Apply fly interfacing (piece R) to the wrong side of the bottom of the left front fly (piece O).


NOTE: We accidentally fused the interfacing to the right side of the fabric while making this undershirt for the tutorial - whoops. It ultimately doesn't matter very much, as the bottom fly will be turned under and Velcro (or other hook-and-loop tape) will be sewn over it, but it does work better overall if it's on the wrong side.


Sew the fly binding (piece P) to the front fly along the long straight edge, edges flush and right sides together.


Press the fly binding away from fly.


Turn fly binding under along edge of fly and pin underside of fly binding in place. 

"Stitch in the ditch" along fly/fly binding seam line to secure underside of fly binding.


The underside of the fly should look like this: 


Remove the excess fly binding by clipping close to the stitch line. 


Repeat for the other side (except interfacing). 


Overlap the two fly pieces, matching centers, and with both right sides facing outward. 


Baste or sew the fly halves together ¼" or so from the top edge where the two halves overlap, matching centers. 


Sew the fly assembly onto the undershirt front, matching centers and side edges. 


Apply fly onesie interfacing (piece R) to wrong side of thin edge of onesie back (piece L). 


Sew back onesie to back of undershirt assembly, right sides together, matching centers and side edges.


PREVIOUS: Tutorial, part 5 - Back Closure

NEXT: Tutorial, part 8 - Sleeves

Tutorial, part 6 - Standard Onesie

Apply standard onesie interfacing (piece M) to the center of the front undershirt bottom (alignment guides are included on the printed pattern).


Sew a strip of ¾" Velcro (or other hook and loop tape) the same length as the interfacing to the front undershirt bottom over said interfacing. 


Apply standard onesie interfacing (piece M) to the wrong side of the thin edge of onesie back (piece N). 


Turn interfaced edge of back onesie under ¾" (wrong sides together) and baste or sew the fold securely in place.


Sew a strip of ¾" Velcro (or other hook and loop tape) through all layers.


Right side: 


Sew back onesie to back of undershirt assembly, right sides together, matching centers and side edges.


OPTIONAL: To further secure the fly closure, attach three snaps to each end over the Velcro.

(DS9/NEM division shirt standard onesie pictured above)

Tutorial, part 5 - Back Closure

Cut the excess zipper tape off of the top of the invisible zipper and liquid fray preventer to the top of the zipper to prevent the zipper tape from unraveling. 

Pin the invisible zipper into place along the center back with 1" seam allowance (!), with the top of the zipper slightly below the top of the collar (⅛" or so). 

Sew the invisible zipper to the garment, extending the stitching ONLY 1" onto the collar (leaving the remainder ⅞" or so of the zipper hanging free). Reinforce the stitching at the top of the stitch line. 

Using your all-purpose foot, sew a horizontal stitch across the zipper tape to further secure it to the collar.


Sew the bottom of the undershirt closed along the center back seam. 


OPTIONAL: Further secure the invisible zipper to the seam allowances by sewing along the zipper tape with an all-purpose sewing foot. 


Close the invisible zipper. 

Press the upper ⅞" or so of the collar seam allowances open (again, with 1" seam allowance).


Angle the collar seam allowance slightly downward from center, so that the edge of the seam allowance is ⅛" or so below the top of the collar. 

Hand sew the entire collar seam allowance into place securely, taking care to ONLY stitch through the collar facing and not through all layers. 


OPTIONAL: "Stitch in the ditch" along the centermost back 1" or so of the body/collar seam to further secure the back seam allowance.


Repeat for the other side.


Hand sew two hook-and-eye closures to the upper back collar, again taking care stitch ONLY through the seam allowance layers (or possibly the collar facing, as well), but NOT through the outer collar itself.


The result should be a perfectly hidden back closure, with no zipper or zipper pull tab visible (and only a slight indent where the zipper is left to hang free and the closure transitions from zipper to hooks-and-eyes).


Tutorial, part 4 - Collar to Body

Sew the collar assembly to the body assembly, matching center fronts and edges at center back.

Tutorial, part 3 - Front to Back

Sew the shirt front (piece A) to shirt back (piece B) at the shoulder seam, right sides facing. 

Press seam allowance open.


Repeat for the other side.


PREVIOUS: Tutorial, part 2 - Collar Assembly

NEXT: Tutorial, part 4 - Collar to Body

Tutorial, part 2 - Collar Assembly

For the STANDARD COLLAR option, fold the collar (piece G) in half, wrong sides together and bottom edges flush, and press. Baste or sew collar assembly closed ¼" from the open edges (bottom and center back). 


For the HERO COLLAR option, place the collar (piece D) and collar facing (piece E) right sides together, with top edges flush (the collar piece will be slightly taller than the collar facing).


NOTE: We have included two "hero collar" options for the VOY undershirt. Option 1 is a basic rectangular construction, while option 2 is a gently rounded collar that will hug the neckline more tightly. The construction process is the same for both.


Sew collar to collar facing. 

Open collar assembly and press seam allowances toward the collar facing. 

Understitch the seam allowances to the collar facing 16"or ⅛" from the seam line.


Fold the collar assembly in half so bottom edges are flush. The collar/collar facing seam line should be slightly inside the collar, not flush with the top. 

Baste or sew the collar closed ¼" from open edges (bottom and center back).


Press collar assembly, but be careful not to overpress the top of the collar where the seam allowance is.


PREVIOUS: Tutorial, part 1 - Pattern Pieces

NEXT: Tutorial, part 3 - Front to Back